10 Electric Fence Installation Mistakes (and How to Avoid Them)
Electricercas team · October 25, 2026 · 5 min read
Key takeaways
- Size the energizer by joules, not miles
- A poor ground system weakens every shock
- Use connectors, never knots, to splice wire
- Match wire heights to each species
- Protect the energizer from lightning
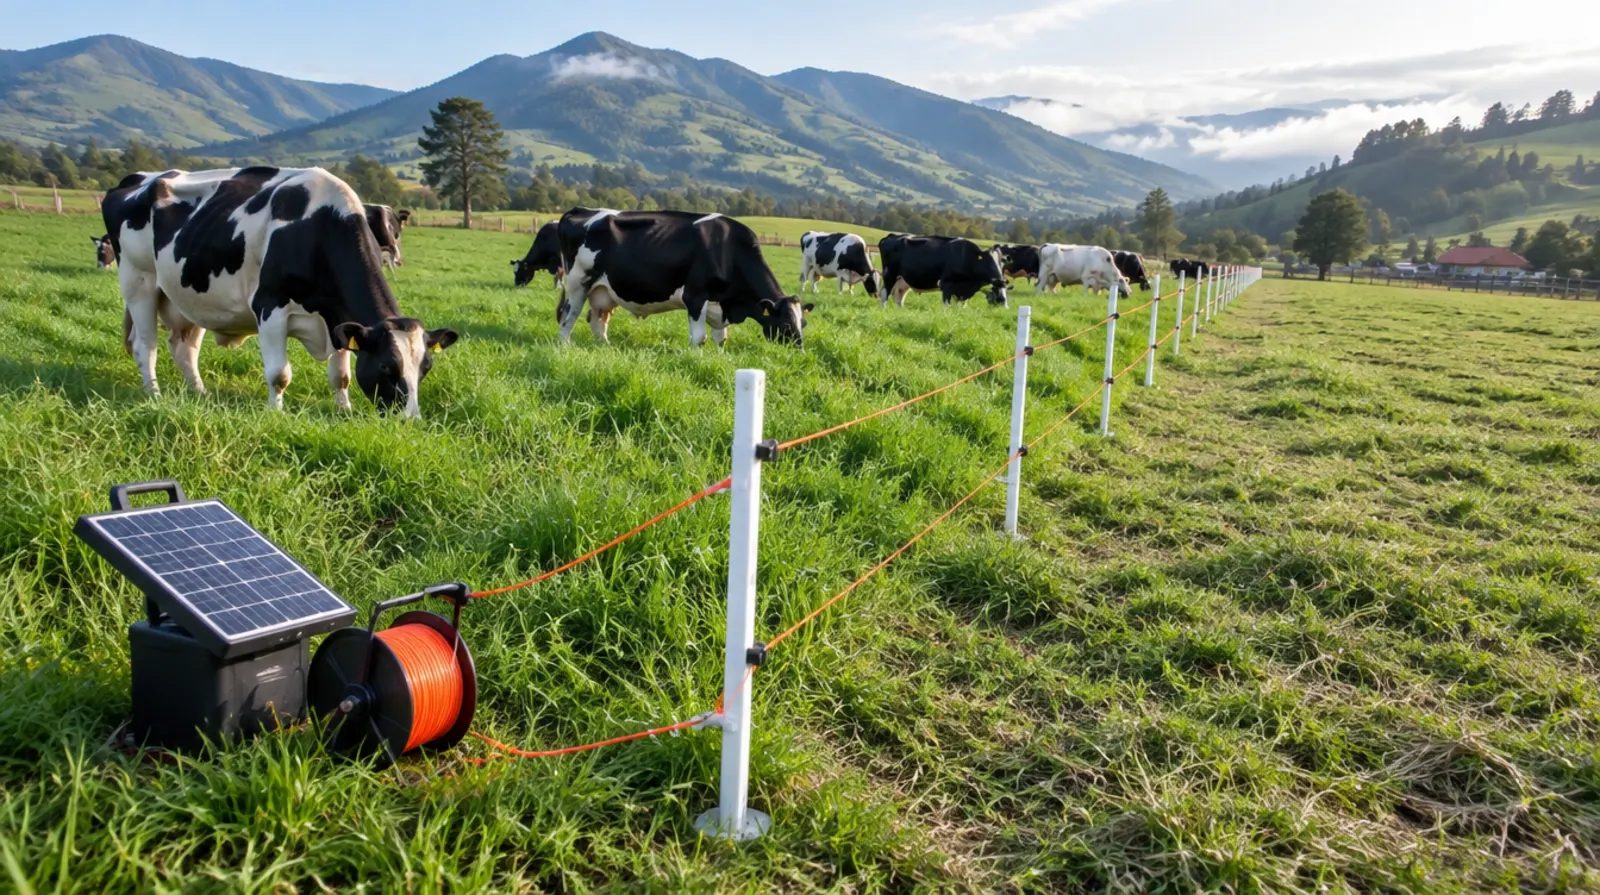
Most electric fences that "don't work" aren't failing because of the energizer or the wire quality. They fail because of installation mistakes that could have been avoided on day one. A ground system with a single rod, a bad splice, an insulator mounted the wrong way or a gate with no insulated handle can turn a well-planned investment into a constant headache, with loose animals and endless trips down the fence line with a tester. This article walks through the 10 most common electric fence installation mistakes, why they happen and how to avoid them, so your fence works from the very first pulse.
1. Choosing the energizer by the mileage on the box
This is mistake number one. The distance a manufacturer advertises is measured under ideal conditions: a single strand, no weeds, a perfect ground. On your farm, with multiple strands and vegetation, real-world range is usually much lower.
How to avoid it: calculate your actual wire length (perimeter times number of strands, plus cross-fences) and choose a unit whose output energy, in joules, gives you headroom. We explain the details in joules, miles and acres explained. Browse our energizers too.
2. Skimping on the ground system
More than half of an electric fence circuit runs through the ground. If grounding is poor, the shock is weak no matter how powerful the energizer. The classic mistake is driving a single short rod, or tying into a water pipe or the house ground.
How to avoid it: install several long ground rods spaced roughly 10 ft (3 m) apart as a common practice, connected with continuous wire and proper clamps, in a moist spot well away from your home's electrical ground. More in electric fence grounding system.
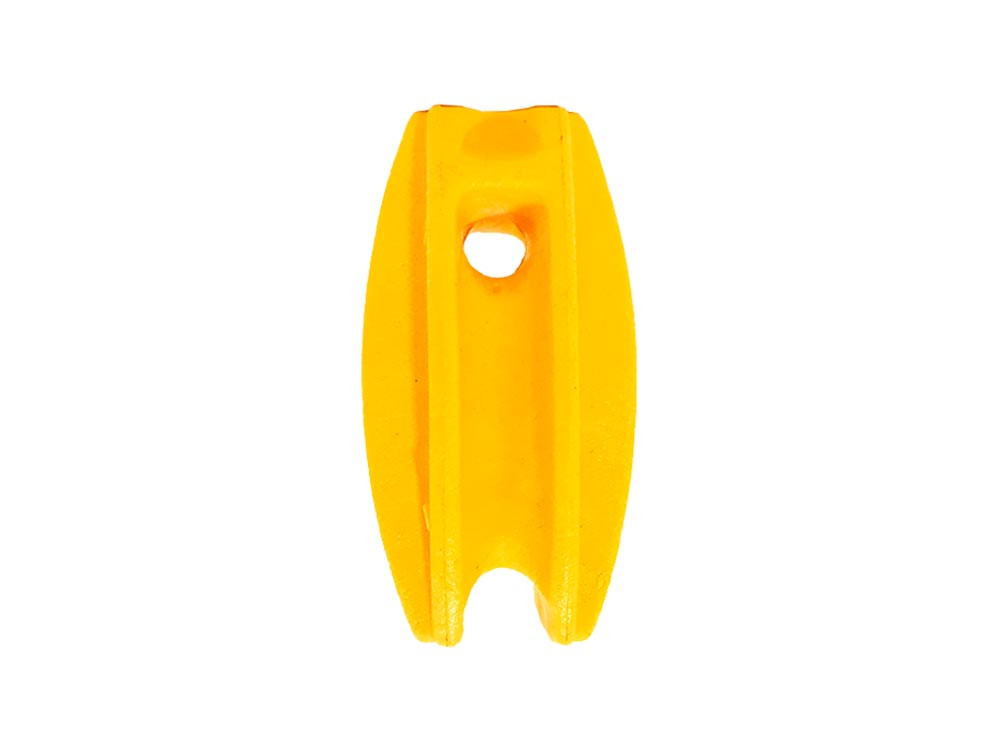
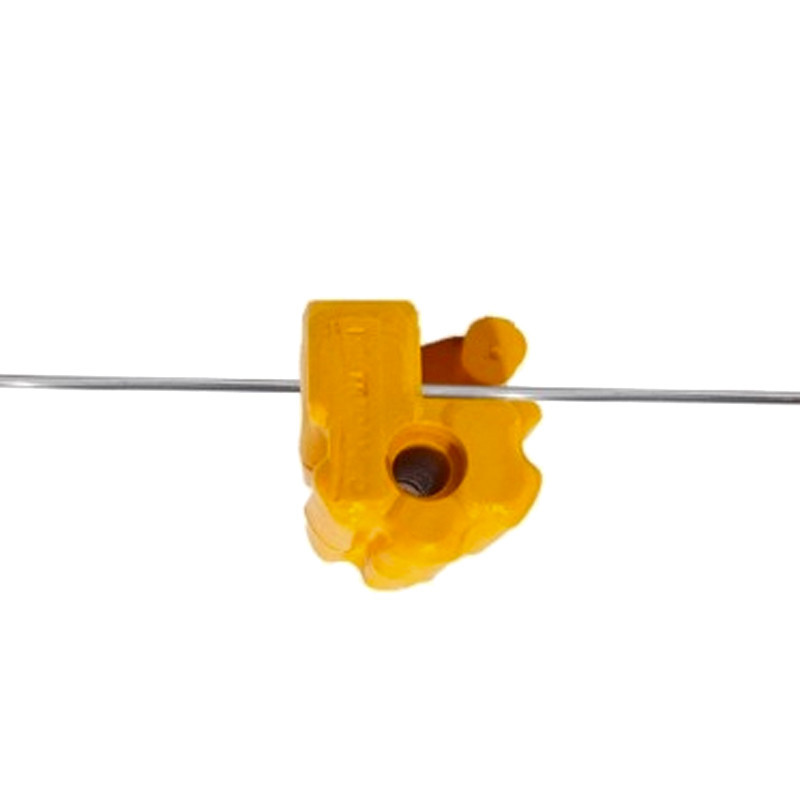
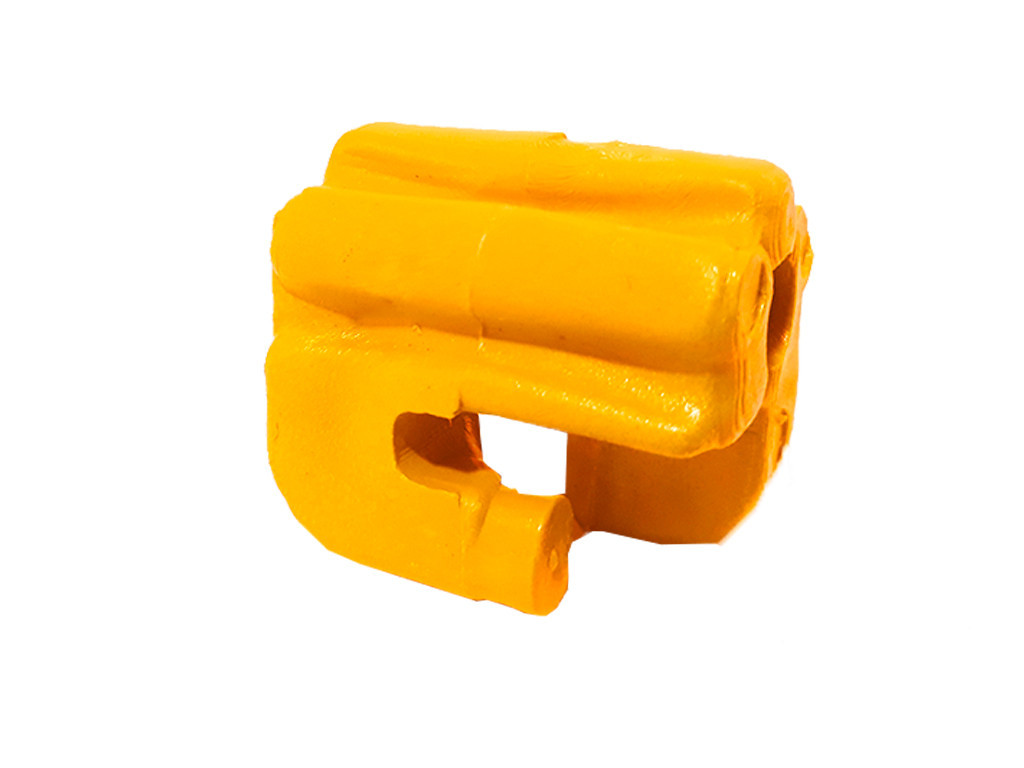
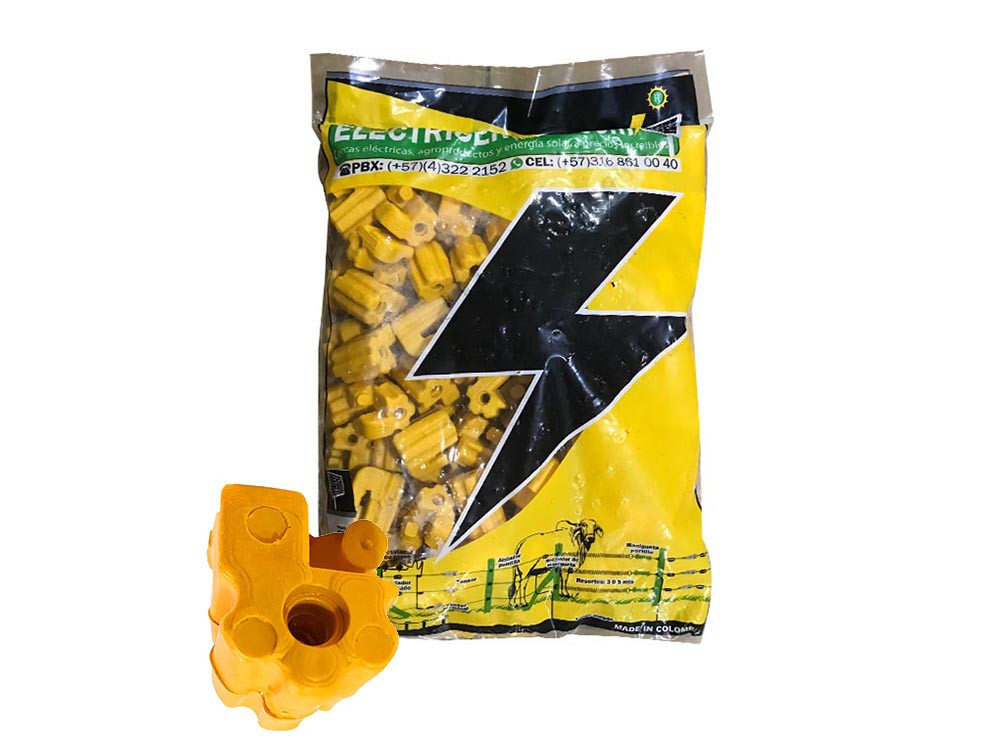
3. Using the wrong insulators or reusing old ones
A cracked, sun-baked or wrong-purpose insulator leaks current into the post, especially when wet. At corners and strainers, line insulators can't handle the load and they break.
How to avoid it: use quality, UV-stabilized insulators, and the right type for each spot: line, corner, strain or gate. Browse our electric fence insulators.
4. Splicing with knots or mixing metals
A knot between two wires looks secure, but over time it corrodes, resistance rises and arcing weakens the pulse. Joining steel wire to copper or aluminum without the proper connector speeds up corrosion.
How to avoid it: use splices and connectors designed for electric fencing, and avoid mixing metals. For tape and polyrope, use connectors made for those materials. Find them in accessories.
5. Setting wire heights that don't match the animal
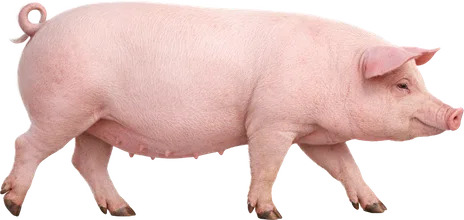
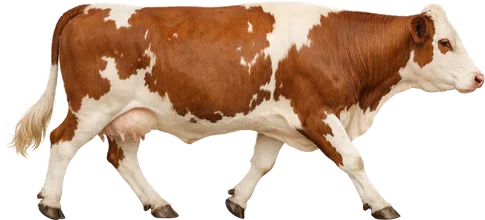
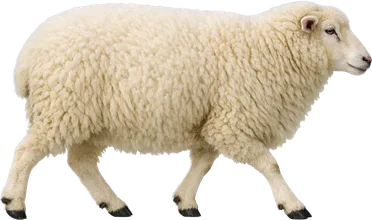
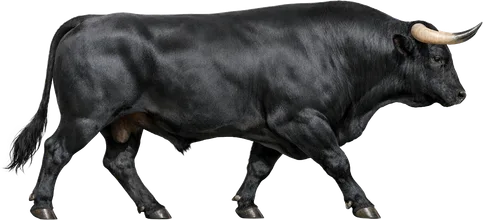
A wire set too high lets calves under; one too low touches weeds and loses voltage. Each species has different recommended heights.
| Animal | Number of wires (guide) | Approximate heights from the ground |
|---|---|---|
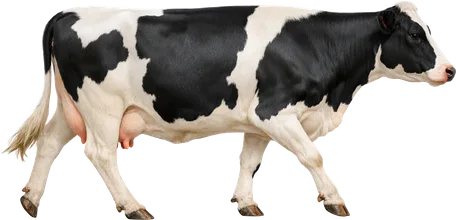
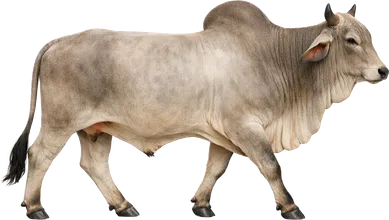
| Adult cattle | 1 to 2 | 31–35 in (80–90 cm); with 2, ~20 in and ~35 in (50/90 cm) |
| Cows with calves | 2 to 3 | ~16, ~28 and ~39 in (40/70/100 cm) |
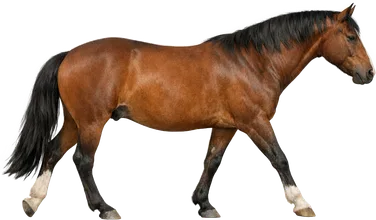
| Horses | 2 to 3 | ~28, ~39 and ~51 in (70/100/130 cm) |
| Sheep and goats | 3 to 5 | From ~6–8 in (15–20 cm) up to ~35 in (90 cm) |
| Pigs | 2 | ~8 and ~16 in (20/40 cm) |
Treat these as a general guide and adjust for the breed and size of your animals. Learn more in how many wires and what height by animal.
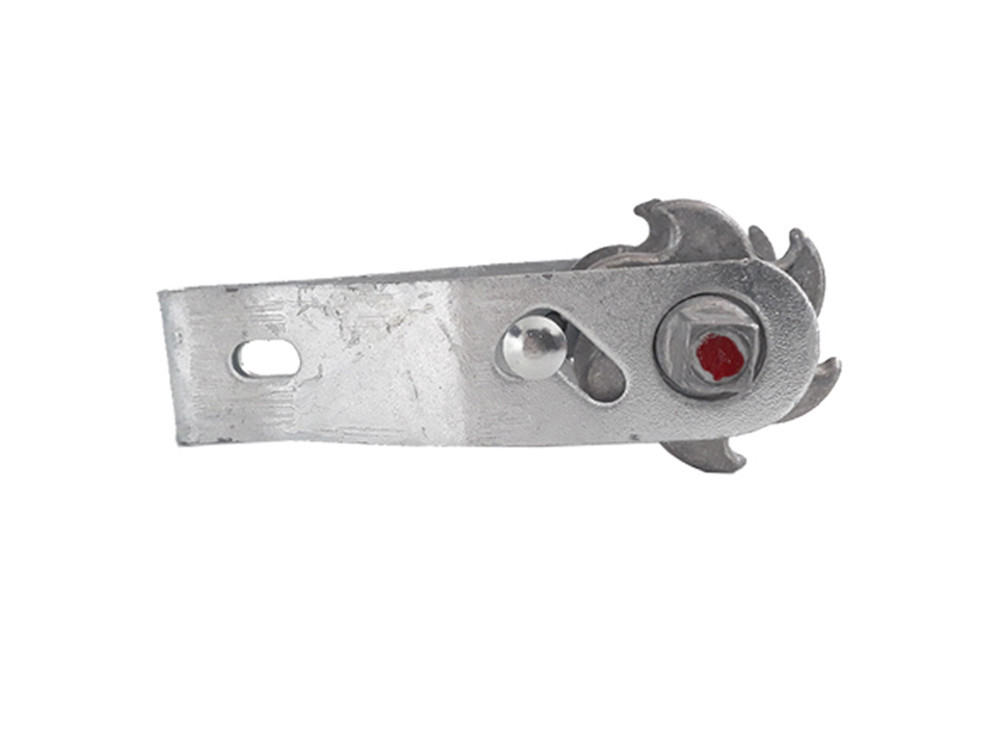
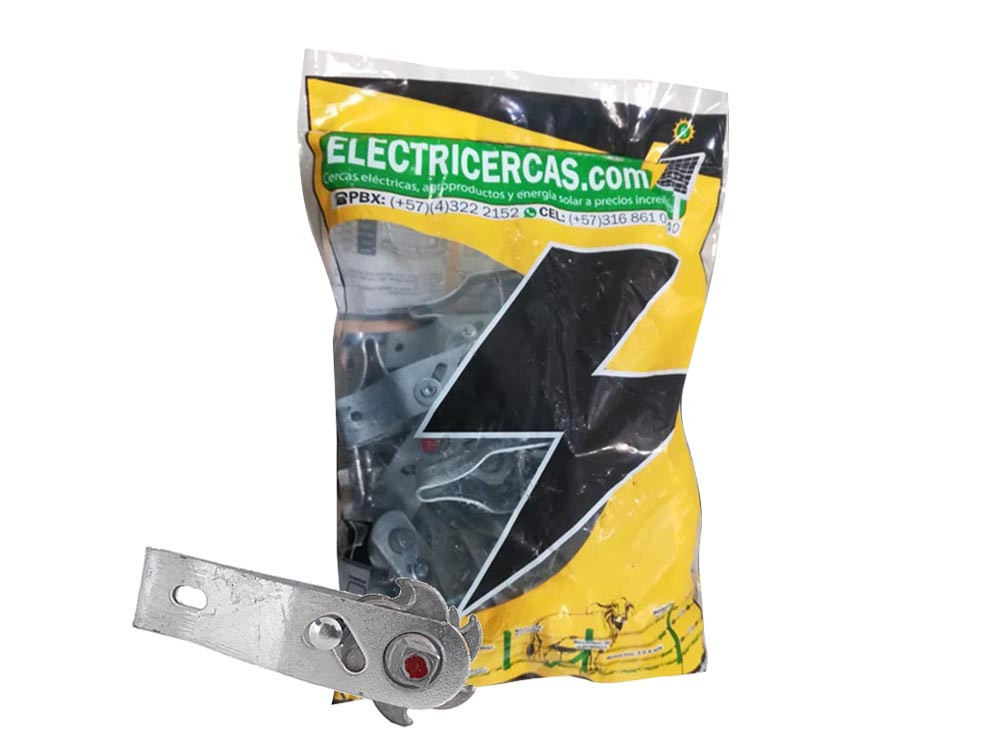
6. Over-tensioning (or under-tensioning) the wire
Overtightened wire snaps insulators, bends corner posts and breaks with temperature swings. Slack wire tangles, touches the ground and is hard for animals to see.
How to avoid it: tension just enough to keep the wire straight, with in-line strainers on long runs so you can adjust. Corners need solid bracing with a brace post or diagonal stay.
7. Ignoring weed control from the start
Building the fence over tall grass, or not planning maintenance, guarantees voltage loss in the growing season.
How to avoid it: clear the fence line before installing and schedule regular trimming. Consider putting the bottom wire on a cut-out switch so you can turn it off when vegetation is heavy.
8. Forgetting lightning protection
A lightning strike on or near the fence can travel down the wire and fry an energizer instantly. Storm seasons can be intense in many regions.
How to avoid it: install a lightning diverter or arrestor with its own ground system, separate from the fence ground, plus a cut-out switch to disconnect the energizer during storms. Read more in lightning protection for electric fence.
9. Skipping livestock training
Turning animals that have never seen an electric fence straight into a big pasture means their first contact happens on the run, and they break through.
How to avoid it: set up a training pen with a physical barrier and a hot wire on the inside for a few days. We cover it step by step in training livestock to respect an electric fence.
10. Neglecting safety and signage
Electrifying barbed wire, wiring the fence straight to mains power, running two energizers on one line or leaving out warning signs along trails are mistakes that can injure people and create legal liability.
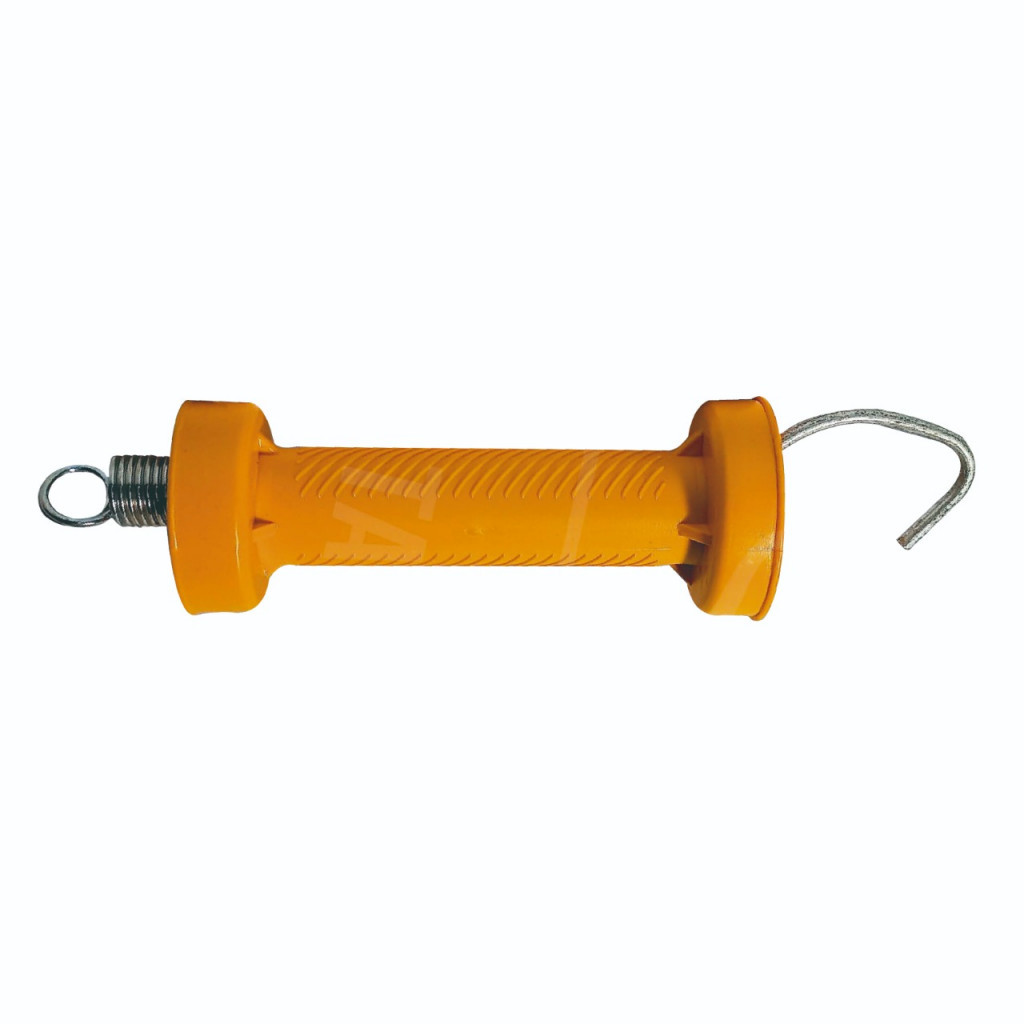
How to avoid it: always use a certified energizer, one unit per fence, smooth wire, tape or polyrope, insulated gate handles and visible signs. Check local codes or consult a licensed professional for perimeter fences and fences along public roads.
Pre-energizing checklist
Before you connect the energizer for the first time, run through this list:
- Does the energizer have enough output for your real wire length?
- Does the ground system have several rods, well connected and away from the house?
- Are the insulators the right type for line, corners and gates?
- Are all splices made with connectors, no knots?
- Do wire heights match your livestock?
- Is the wire evenly tensioned and are the corners solid?
- Is the strip under the fence clear?
- Is there a lightning diverter and a cut-out switch?
- Are there warning signs where people walk?
- Did you test voltage at the far end?
Tools you shouldn't be without
- A fence voltmeter or fault finder.
- In-line strainers and a tensioning handle.
- Connectors and splices for the wire type you use.
- Fencing pliers, cutters and gloves.
- Cut-out switches to isolate sections.
- "Electric Fence" warning signs.
Get it right from day one
Avoiding these 10 mistakes saves you time, money and escaped livestock. Electricercas supports you from design through installation: our installation guides walk you through each step, the fence calculator estimates materials by acreage, and our electric fence line has everything you need. Questions? Contact us on WhatsApp at +57 305 453 5264. Since 2014 we've been shipping from Medellín across Colombia and to international customers.
Frequently asked questions
Why is my electric fence not shocking?
The usual suspects are a poor ground system, weeds touching the wire, damaged insulators or bad splices. Test voltage at the energizer with the fence disconnected, then along the line, to tell whether the problem is the unit or the fence.
How many ground rods does an electric fence need?
It depends on the energizer and the soil, but one rod is almost never enough. A common practice is several long rods spaced about 10 feet (3 m) apart and joined with continuous wire. Check your energizer's manual for its recommendation.
Can I electrify my existing barbed wire?
It's not recommended. If a person or animal gets tangled, they can't pull free between pulses, which raises the risk of injury. Use smooth wire, tape or polyrope instead, and leave any barbed wire unpowered as a physical barrier.
Need help with your fence?
We ship worldwide. Message us and an advisor will help you choose the right setup.