Electric Fence Gates and Handles: Safe Openings Guide
Electricercas team · October 18, 2026 · 5 min read
Key takeaways
- Gate handles let you open a live fence safely
- Choose spring, bungee or tape by use
- Run power under the gate in buried conduit
- Opening a gate must not kill the fence
- Brace gate posts like strain posts
Every fence needs openings for people, livestock, tractors and pickups. On an electric fence those openings are tricky: done wrong, opening the gate kills power to the rest of the fence or, worse, gives whoever opens it a jolt. A well-built electric fence gate opens and closes with one hand, keeps the whole line live and lasts for years without trouble. This guide covers what an electric fence gate handle is, which gate types exist, how to carry power under the opening and how to build it all step by step.
What an electric fence gate handle does
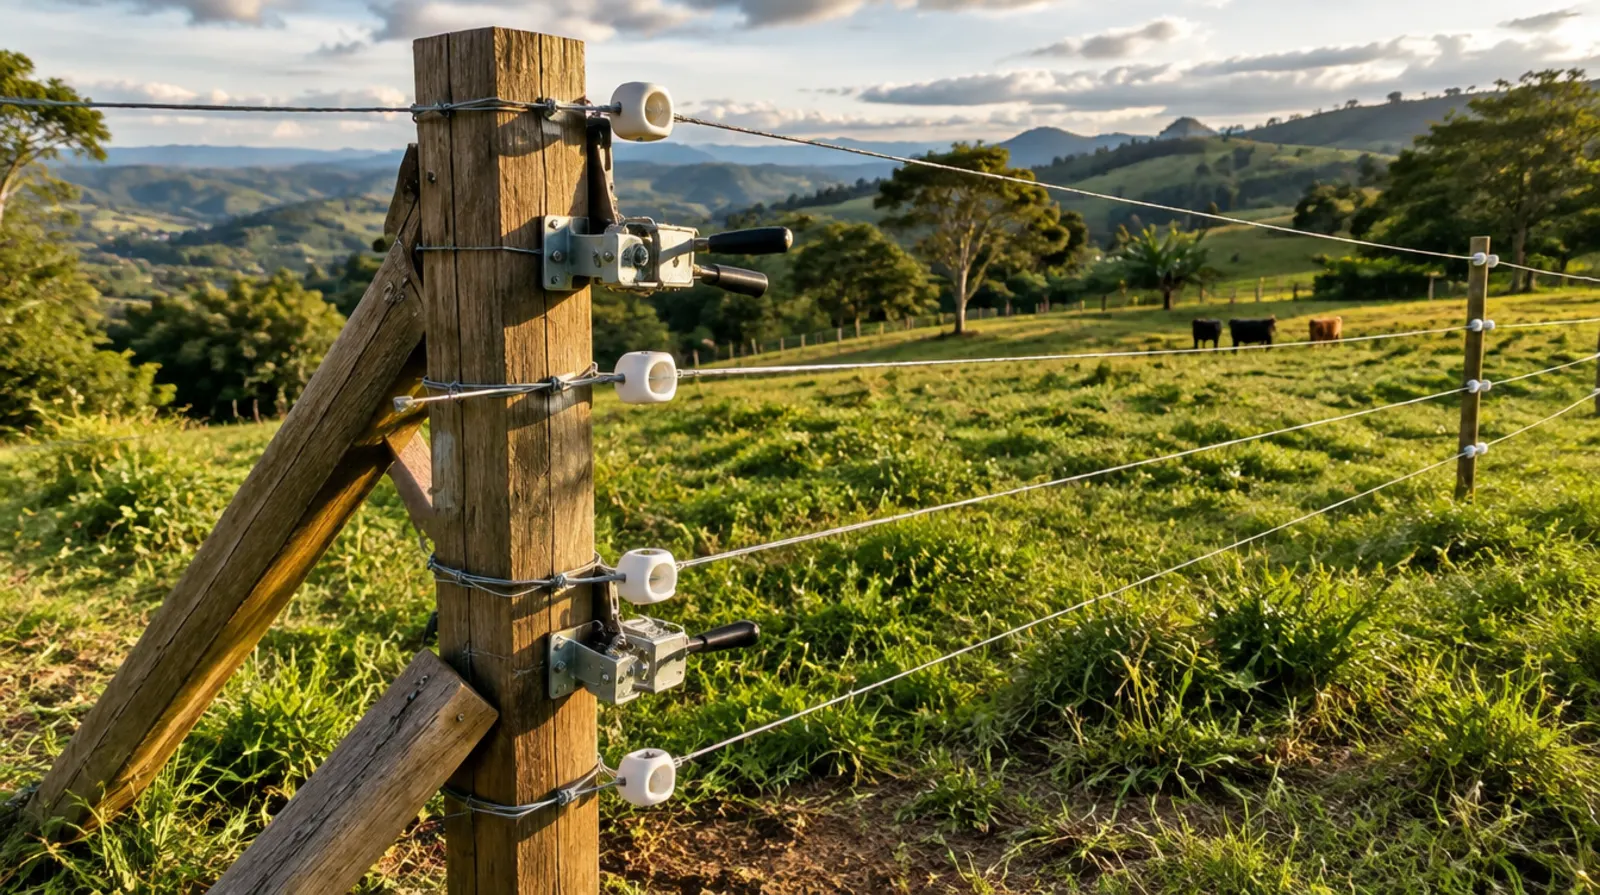
A gate handle is an insulated grip attached to the end of the gate wire, tape, rope or spring. It has a metal hook that latches onto an anchor or insulator on the other side of the opening. Thanks to the plastic grip, you can open and close the gate with the fence energized without getting shocked.
When choosing handles, look for:
- Well-insulated grip with UV protection so it doesn't crack in the sun.
- Strong hook in galvanized or stainless steel that won't bend with use.
- Solid connection to the wire, tape or rope so it conducts well when closed.
- Built-in spring on some models, which keeps tension and makes hooking easier.
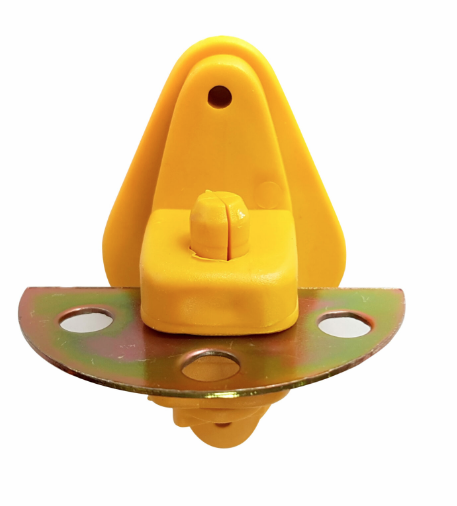
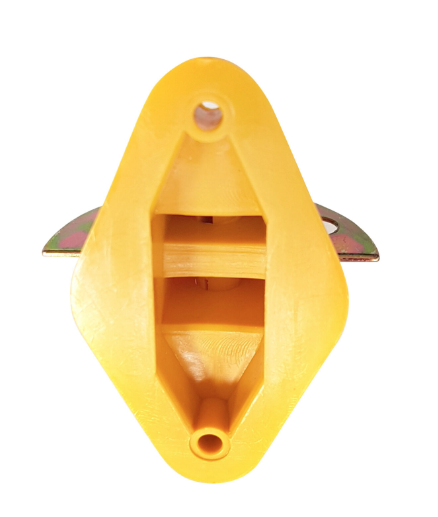
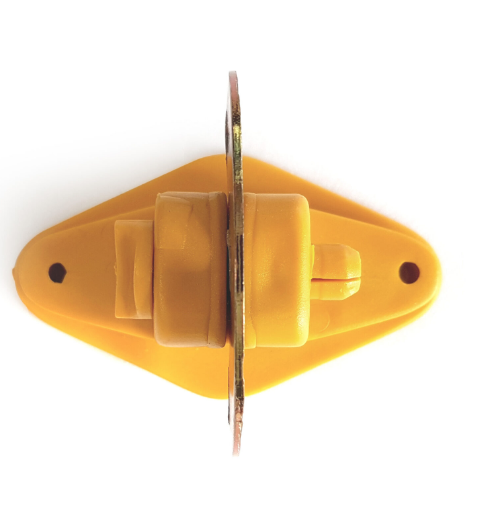
Our electric fence accessories section carries handles, anchors and gate kits.
Types of electric fence gates
Not all openings are equal. Pick the type based on who passes through and how often:
| Gate type | Typical width | Advantages | Best for |
|---|---|---|---|
| Steel spring gate with handle | Up to about 5 m (16 ft) | Stays tight, highly visible, durable | Daily cattle and foot traffic |
| Bungee / elastic rope with handle | Up to 5-6 m (16-20 ft) | Light, cheap, easy to roll up | Portable fences and rotational grazing |
| Tape with handle | 3-6 m (10-20 ft) | Very visible to horses | Horse paddocks |
| Wire with handle and strainer | Variable | Cheap, simple | Rarely used openings |
| Rigid insulated gate + buried crossing | Any width | Comfortable for vehicles | Main entrances and driveways |
With multiple strands, install one handle per hot wire at the same height as on the fence. For horses, tape is the better choice for visibility; see our electric fence for horses guide.
The golden rule: power must not depend on the gate
The most common mistake is feeding the rest of the fence through the gate. When someone opens it, everything downstream goes dead, and livestock figure that out fast. The fix is to carry power under (or over) the opening with an independent conductor:
- Underground crossing: double-insulated high-voltage cable run inside a plastic conduit (PVC or heavy hose) and buried about 30 to 50 cm (12 to 20 in) deep. This is the most common and safest option.
- Overhead crossing: cable strung above the gate, high enough that tractors, trucks and riders can't touch it. Useful when you can't dig, but it requires tall, solid posts.
That way the gate becomes a dead-end or one-side-fed section, and opening it doesn't affect the rest of the fence.
Why use high-voltage cable instead of regular wire
Bare fence wire buried in the ground leaks current into the soil, especially when wet. Even household electrical cable isn't built for pulses of thousands of volts; its insulation can break down over time. Double-insulated fence cable is designed to handle those pulses and to be buried inside conduit.
How to install a gate with a handle, step by step
- Decide the width. Think about the largest vehicle that will pass and add a margin.
- Reinforce the gate posts. They're strain posts: thicker and set deeper than line posts, ideally braced.
- Build the underground crossing. Dig a trench between the two posts, run the high-voltage cable through the conduit, turn the conduit ends downward so water can't get in, and backfill.
- Connect the cable to the fence line on both sides of the opening with solid connectors.
- Mount the handle anchor or gate insulator on the opposite post at the same height as the wire.
- Install the spring, rope or tape with the handle on the end, connected to the line on the hinge side.
- Plan which side stays live so that when the gate is open and lying on the ground it isn't energized and grounding out. Ideally, the handle is dead when unhooked.
- Hang a warning sign on the gate.
- Test voltage on the far side of the opening with the gate open and closed. It should be the same.
Avoiding shocks and leaks at gates
- When open, hang the handle on a "parking" insulator instead of dropping it on the ground, so it doesn't short out or fill with mud.
- If the gate stays live when open, keep the spring or tape off the grass.
- Check the hook for rust; poor contact causes sparking and voltage loss.
- On multi-strand gates, mark which handle goes at which height so it's always closed the same way.
Gates for vehicles and main entrances
At the farm entrance or on internal roads with daily truck traffic, unhooking handles gets tedious. There, use a rigid gate (wood, steel or pipe) that is not electrified, and carry power underneath with high-voltage cable. If the gate is metal and close to the fence, make sure it can't touch the hot wires, or it becomes a leak.
Gates on portable fences and rotational grazing
In rotational grazing you open and close temporary paddocks constantly, so gates need to be quick. A few tips:
- Use bungee rope or tape gates with handles; they're light and you can move them along with the polywire.
- Carry a couple of spare handles in the truck; they're the part that gets lost or stepped on most.
- Feed temporary paddocks from a permanent hot wire through reel connectors, not through the gate itself.
Keep the gate on the side of the paddock closest to water or the next paddock, so animals move along naturally and you open fewer gates per move.
Cut-out switches next to gates
A cut-out switch near your main gates lets you shut off one section for maintenance without powering down the whole property. It also makes troubleshooting much easier, as we explain in common electric fence problems and fixes.
Good-gate checklist
- Gate posts reinforced and well anchored.
- Power carried by high-voltage cable in conduit, not through the gate.
- One handle per hot wire.
- Solid anchor on the opposite post plus a parking insulator.
- Visible warning sign.
- Same voltage on both sides with the gate open and closed.
Build your gates with the right hardware
Electricercas has delivered more than 11,000 orders since 2014 from Medellín, Colombia, and ships internationally. Find gate handles, springs, high-voltage cable and anchors in our electric fence accessories, tape and rope in fence wire, and step-by-step guides in the installation manuals. Building a full fence? Our acreage-based calculator works out every component. Questions about a specific gate? Contact us on WhatsApp at +57 305 453 5264 and we'll help you design it.
Frequently asked questions
Why does my fence go dead when I open the gate?
Because power is running through the gate. Carry it under the opening with high-voltage cable inside buried conduit, so the gate isn't part of the main circuit.
What cable should I use under a gate?
Double-insulated high-voltage electric fence cable inside a plastic conduit. Bare wire leaks into the soil and household cable can break down under high-voltage pulses.
Spring gate or bungee rope: which is better?
Steel springs are more durable and visible, ideal for daily-use gates. Bungee rope is lighter and cheaper, and works very well on portable fences and in rotational grazing.
How many handles does a gate need?
One for every hot wire on the fence, installed at the same height as that wire. That way the gate keeps the same barrier as the rest of the fence.
Need help with your fence?
We ship worldwide. Message us and an advisor will help you choose the right setup.